
Wall Patching
Finally getting to some of the smaller todos around the house. A little back story before I get to the project. Last fall during our first freeze we left our hose hooked up. The next day I tried to use it and it was frozen …
Diaries of a Craftsman
Finally getting to some of the smaller todos around the house. A little back story before I get to the project. Last fall during our first freeze we left our hose hooked up. The next day I tried to use it and it was frozen …
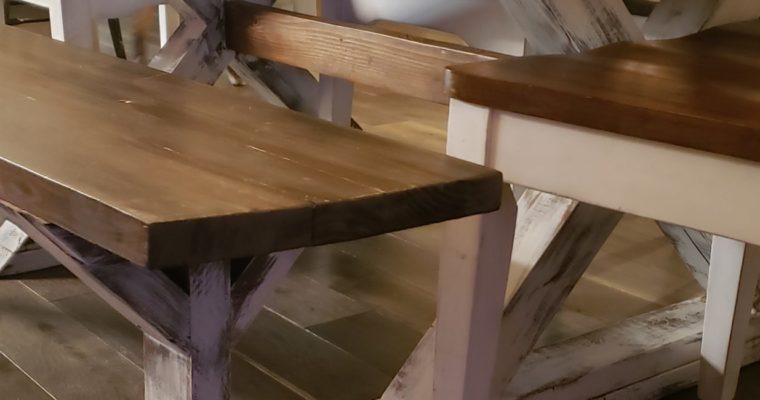
My Bride and partner in crime, aka Merideth, finally found a moment to swing in and grab some shots of the awesome 5ft Farmhouse table and bench I created in November. With the X leg style and the gray tones on the top! This piece …
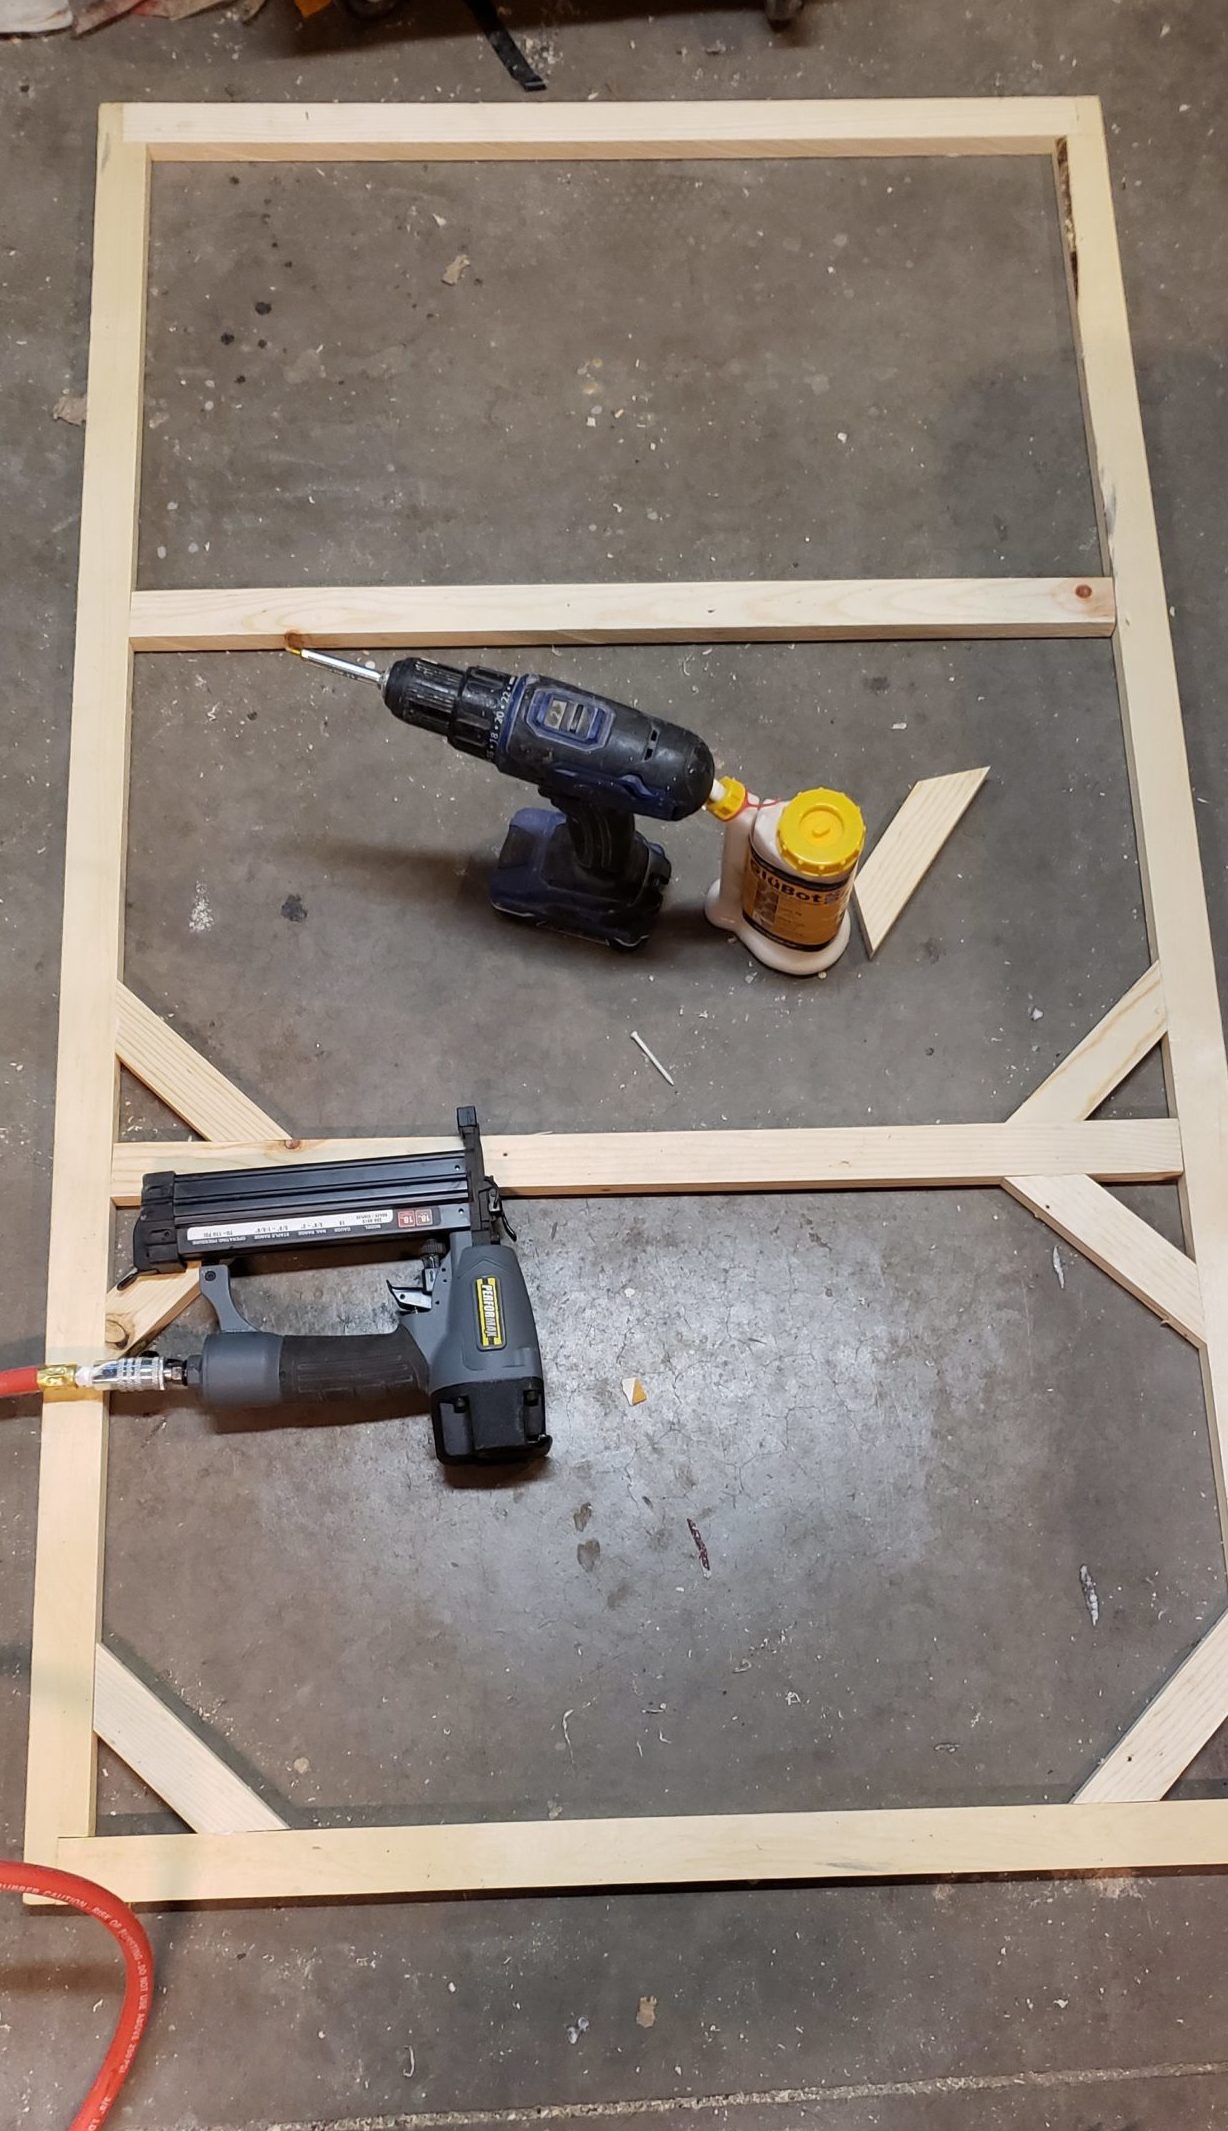
Today we made a custom size canvas on a wood frame. Measuring 56″ wide and 33″ tall.
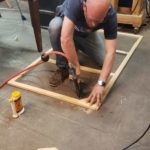
Starting out with a 1X6 8 ft long, ripping lengthwise into 1 1/2″ strips.
Two pieces were cut to 56″ inches long and datoed on the ends 1 1/2″ wide and 1/2″ deep.
Two pieces cut to 31″ for the ends (these fit into the datoed ends)
Two pieces cut to 30″ inches for the center supports.
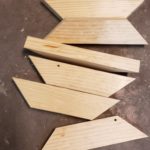
lastly, 12 pieces about 7 inches long with a 45-degree angle on each end for supports.
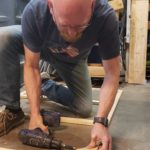
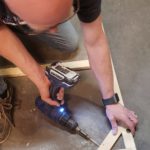
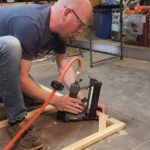
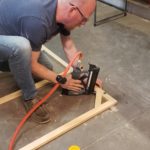
I staples and glued the two ends into the dated edges, measured over 18 1/2″ from the outer edges ( both sides) glued and nailed the center supports. Using 1/8″ X 2″ hex screws to firmly secure the ends and center supports.
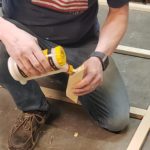
Finishing step was to attach the 45 degree supports in each internal corner securing in the same fashion glue, air-nail and 1/8″ X 2″ hex screws.

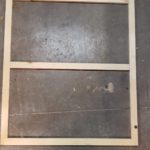
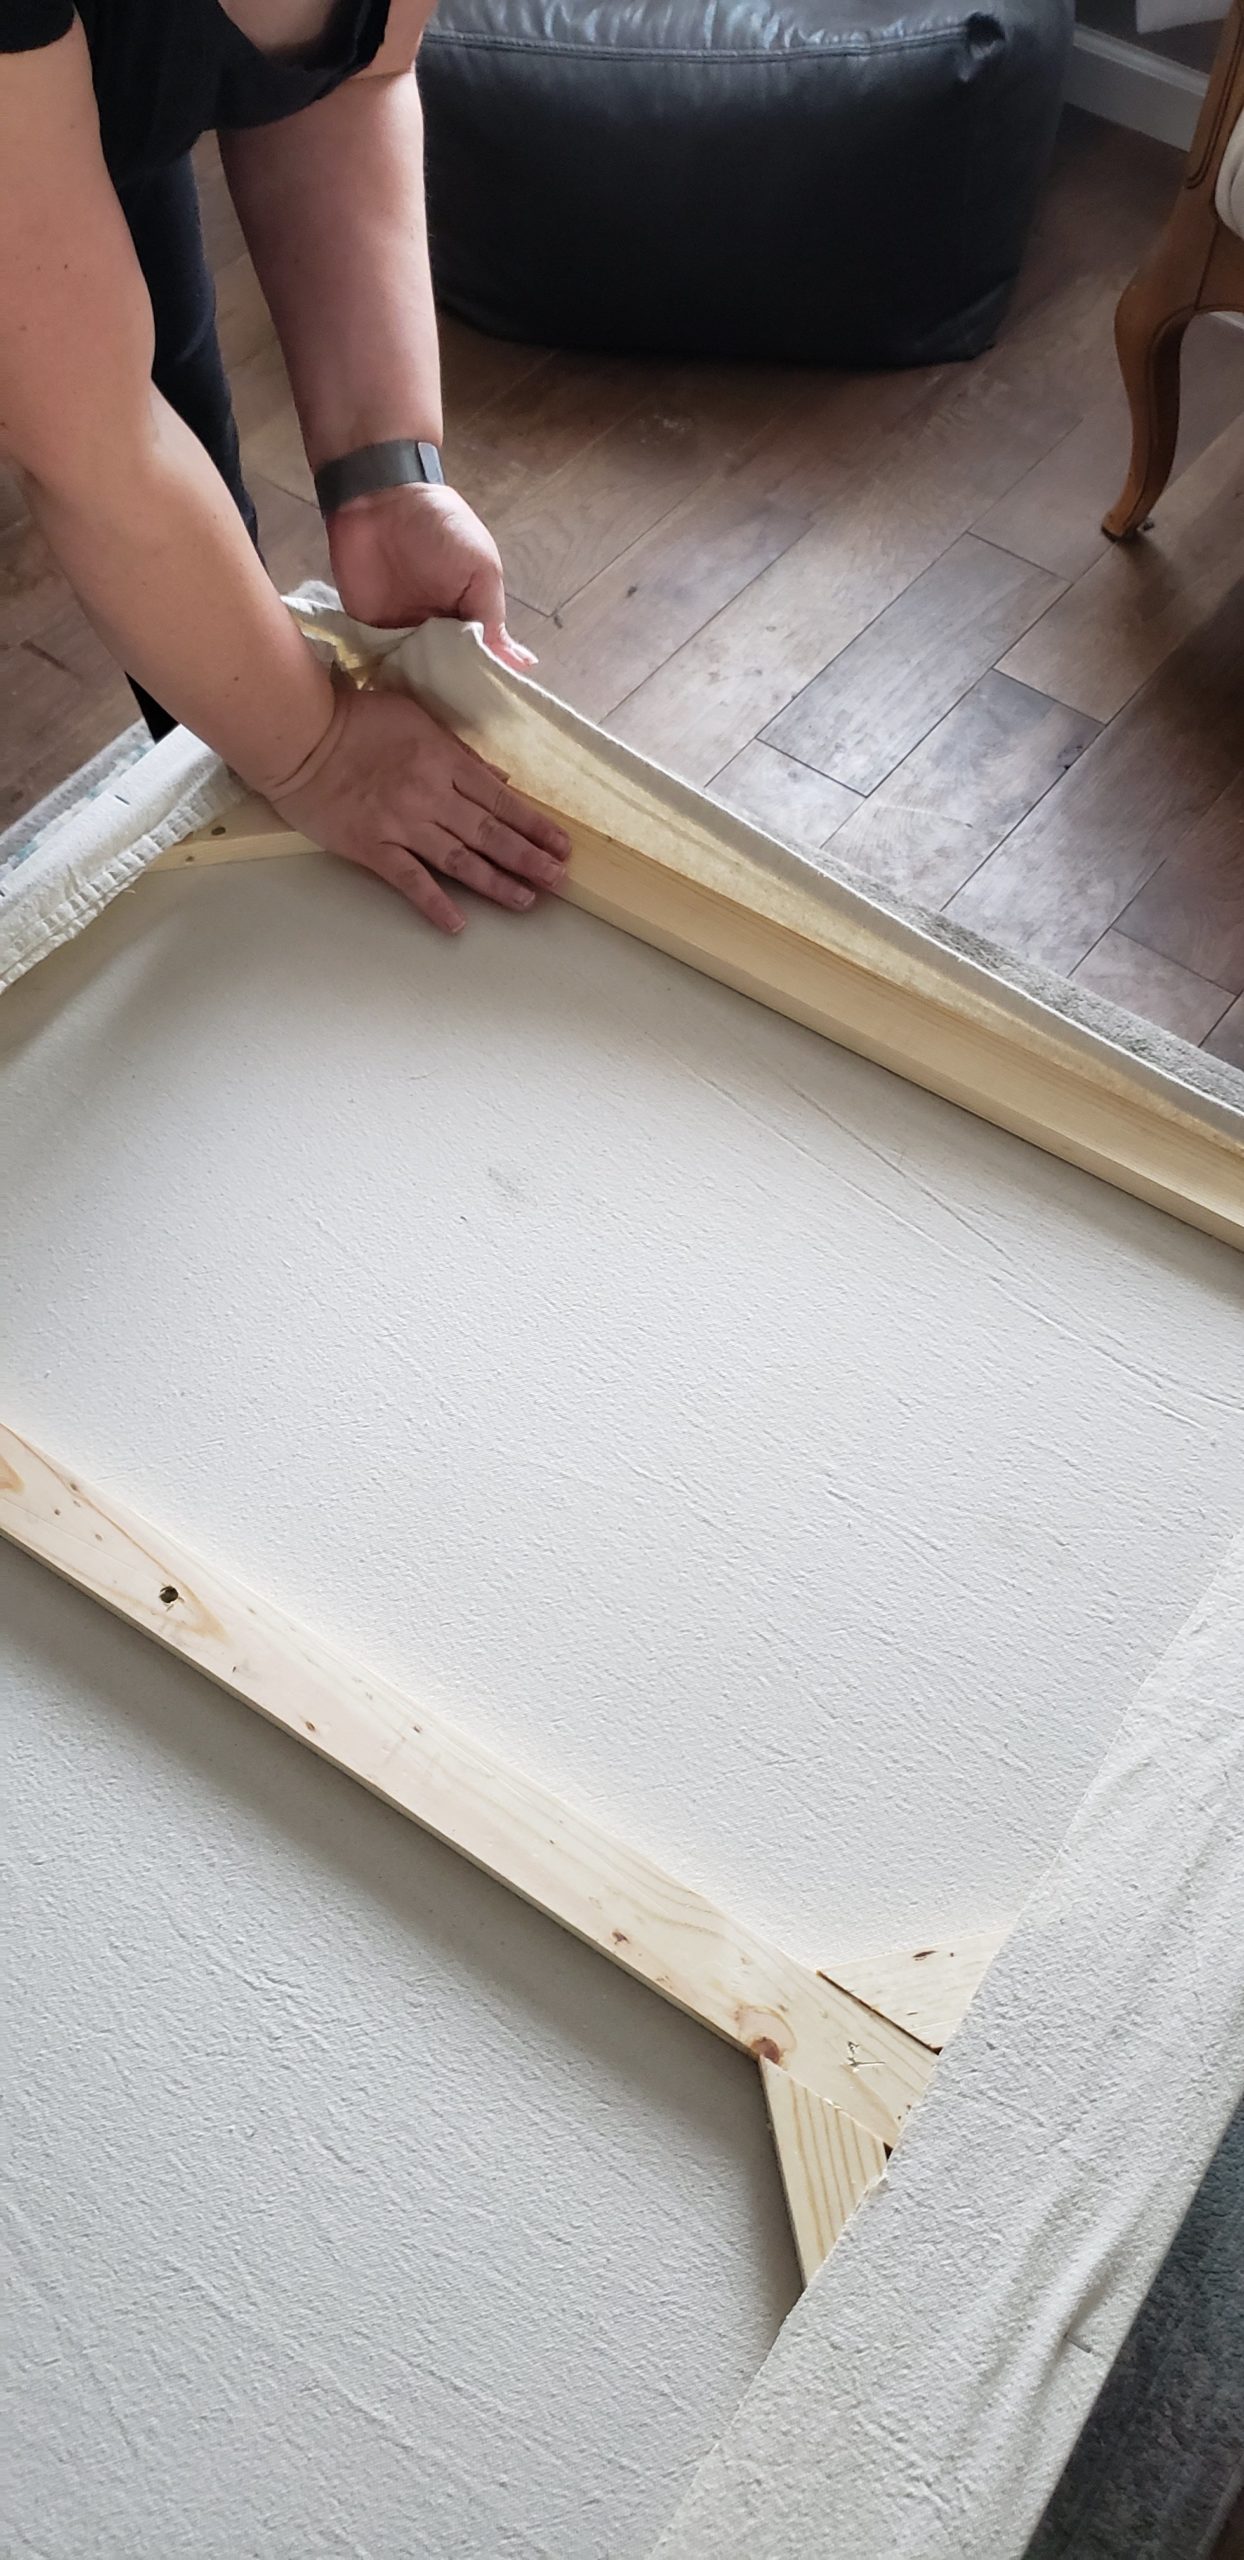
Then we took the frame inside, Using a painters tarp we stretched the “Canvas” over the frame and attached it with a good old fashion staple gun.
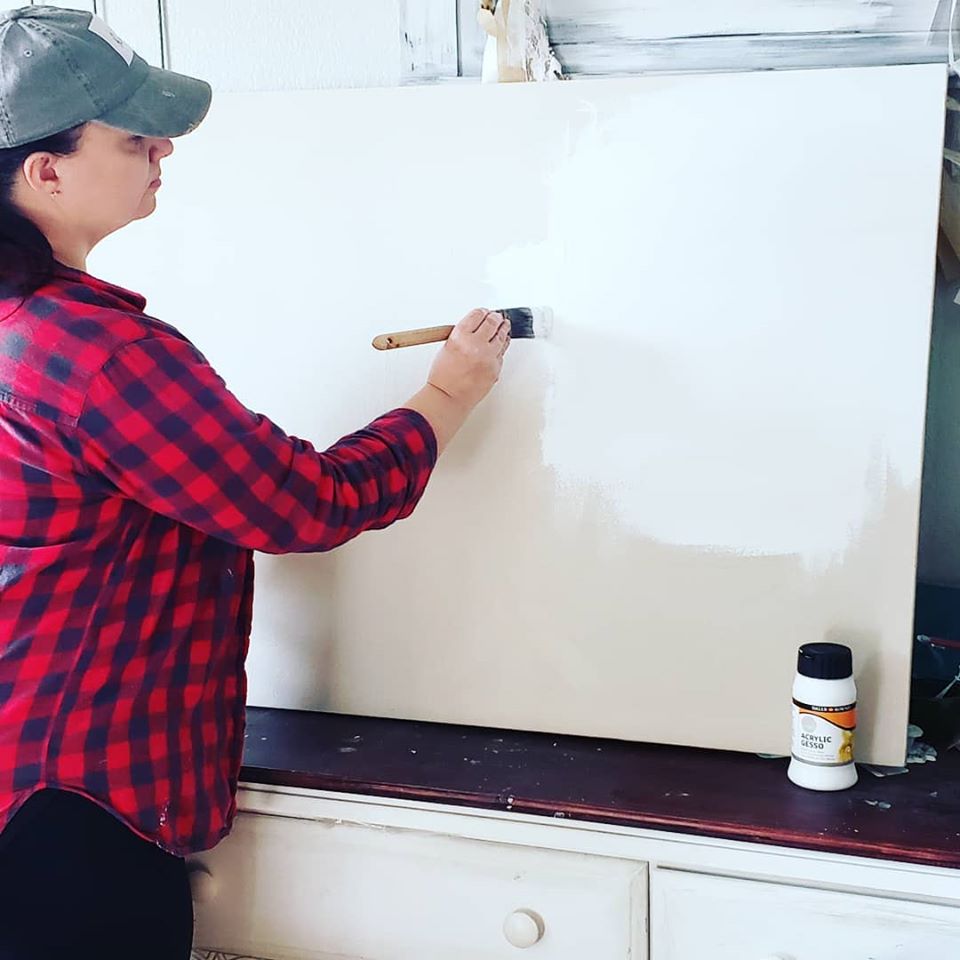
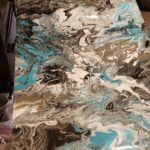
Then the final stages of stretching the canvas, The Gesso! Merideth took the canvas to her paint room and applied a coat of Gesso on it. Gesso is very similar to white acrylic paint, only thinner. It dries hard, making the surface more stiff otherwise the paint would soak into the fabric.
I will post a link to the finished product when it is completed and hung on the wall. But since I know your wondering look in the gallery below for a preview. Also, click on the link below to see another flow art project we did with the same kind of custom frame.
HOW TO: CREATE BEAUTIFUL MODERN FLO ART
Enjoy and have a great day! let me know your feedback or maybe other techniques you may have for creating canvases!


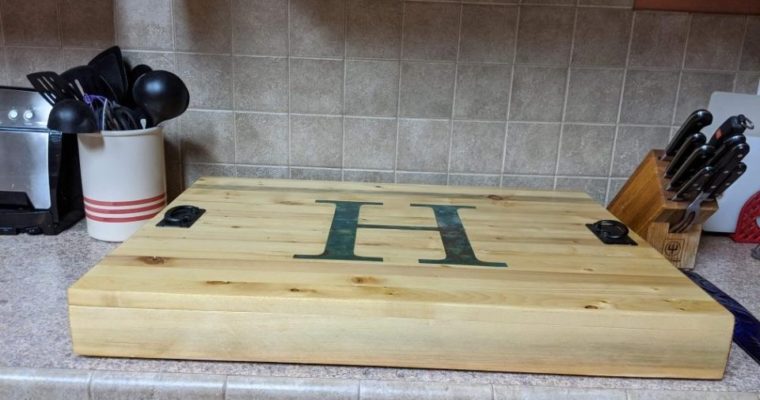
This was a quick project, I wish I had some additional pictures of the progress, But… Some friends of ours requested a stove cover with there sir name initial on it for there farm style home. So I jumped into the Twine and Tumbleweeds design …

What fun build we have going on! As you follow us here a Diaries of Craftsman and at Twine and Tumbleweeds you know we are in constant remodel mode. This my friends is the reality of home construction. Chaos, dust, tools everywhere but I estimate …
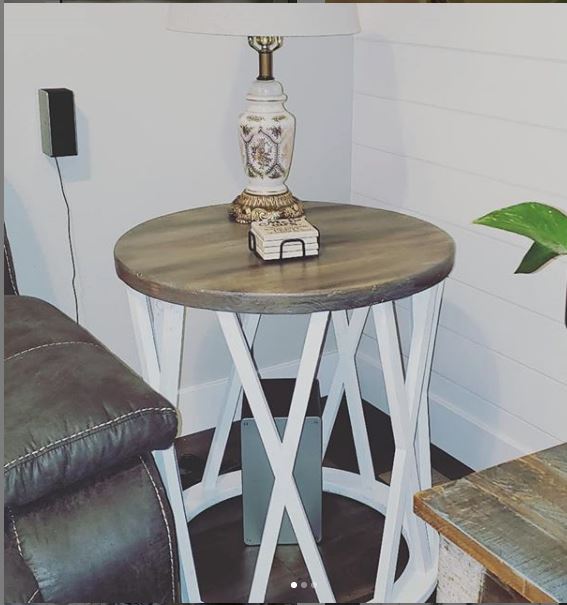
A custom Twine and Tumbleweeds order from our Friends. they have a modern unique farmhouse style home and wanted some enables to fit there white and grayish stain decor.
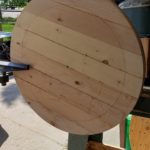
We made two different sizes One 22″ and the other 26″. We started With 2X4s plained down to 1 1/4″ and the ends squared up on the table saw. The pieces were then glued together to make 1 large square piece. On the pieces that were to be the top, I added a layer of 1/4″ planks to give it a butcherblock style look.
The tabletop circles were cut out on a table saw, believe it or not, I wish I had my own video of that but here’s a link to a video showing the process.
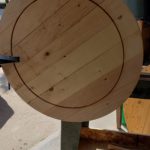
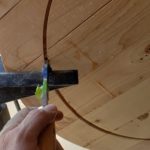
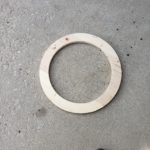
The base rings didn’t get the top planking as most of it would be cut out. The outside of the ring was also cut on the table saw with a mounting board attached. The table saw method would not work for the center section so I attached them to my Lathe and cut the middles out that way.
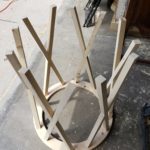
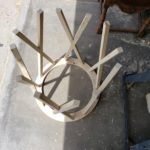
After determining the height needed (30″) I created a jig for cutting the angles for the legs. Each leg was cut out in the center with the proper angle and then places together with glue and air nails.
After they were together, I clamped them on the table saw and raised the blade into them to square them up. That determined my width at the ends of each leg which, was about 7 inches on each end.
Knowing the length I created some template pieces and layed them out on the tops and bases, and pre-drilled mounting holes and mounted the base pieces from the bottom up for aesthetic value.
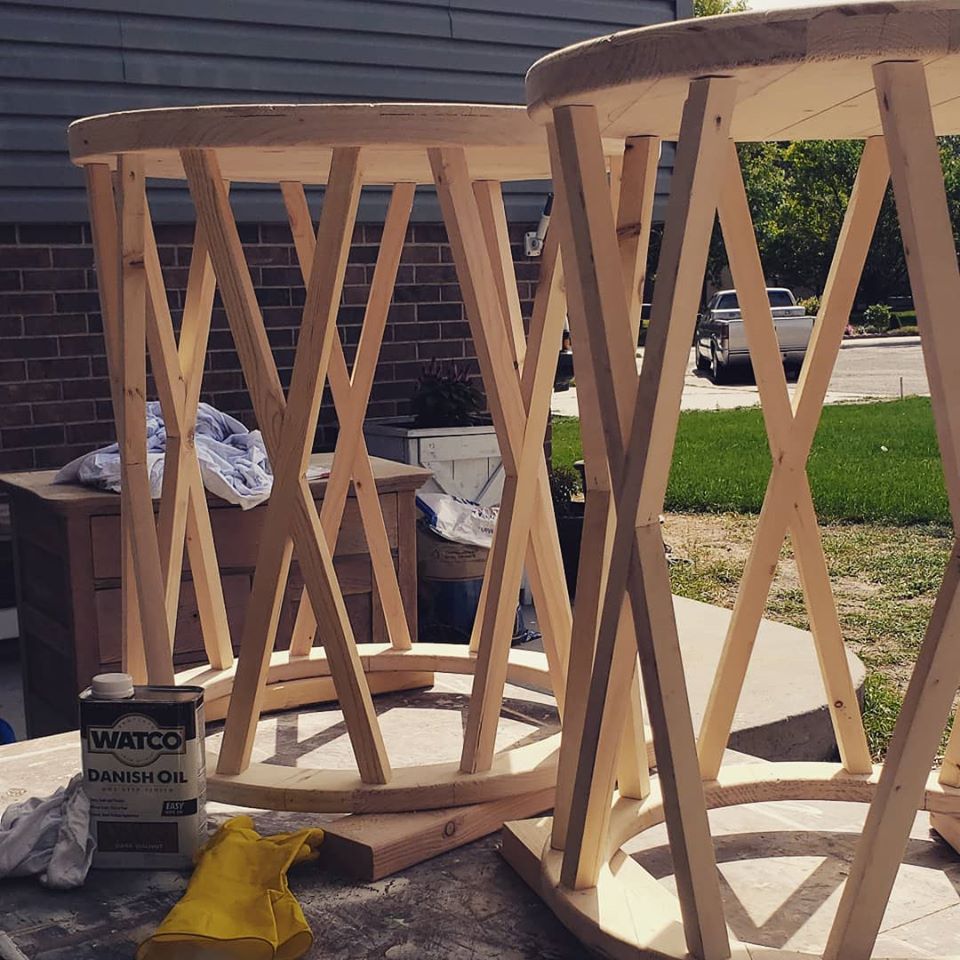
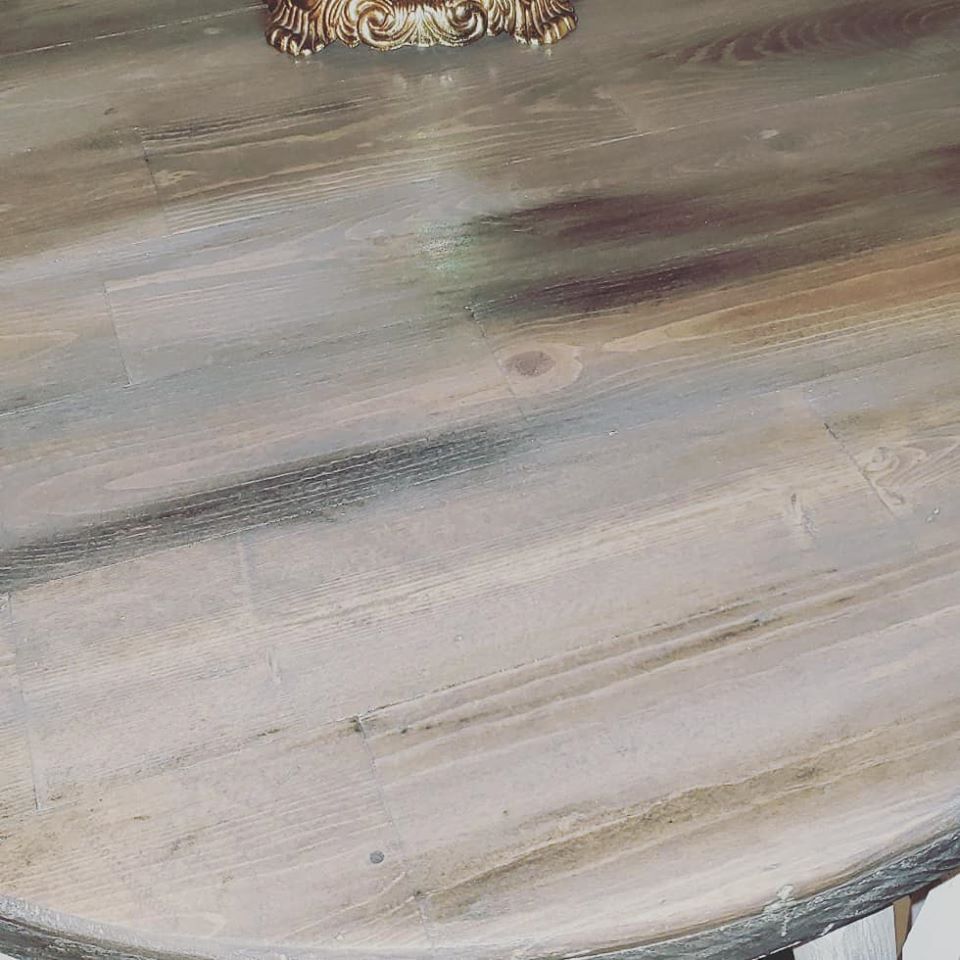
The tops of the legs were pre-drilled and mounted to the tops. after sanding and cleaning they were turned over to the paint and stain department! The base and the legs were painted with Dixie Belle Cotton paint and rubbed with dark wax. the Top was stained with Danish oil Dark Walnut, and distressed with Dixie Belle Hurricane Grey and rubbed with dark wax. Finally finishing it off with 3 coats of water-based Polyurethane.
Good Afternoon All! You know that farm house table I posted about? Well, we have made a new piece to add to our Friends collection. Built and painted in the same fashion as the table. My original plans called for 2×4 legs but our friends …
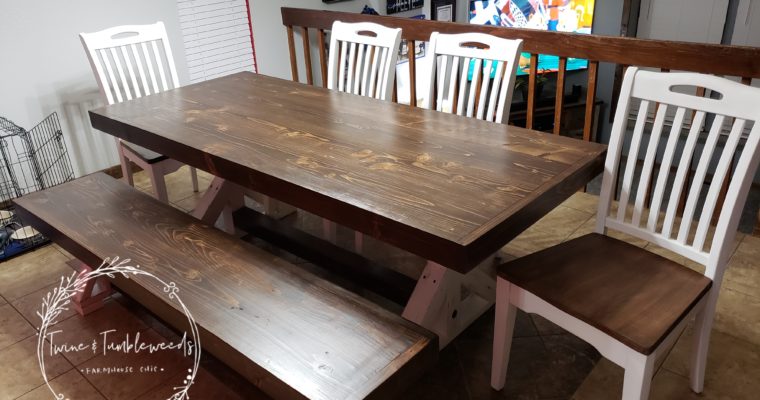
Good Day All!, I’m here to talk about an awesome custom order we completed this month. Our good friend’s, the Peete’s commissioned us to build them a 7ft long farmhouse table and matching bench for their family. We have been wanting to build one so …
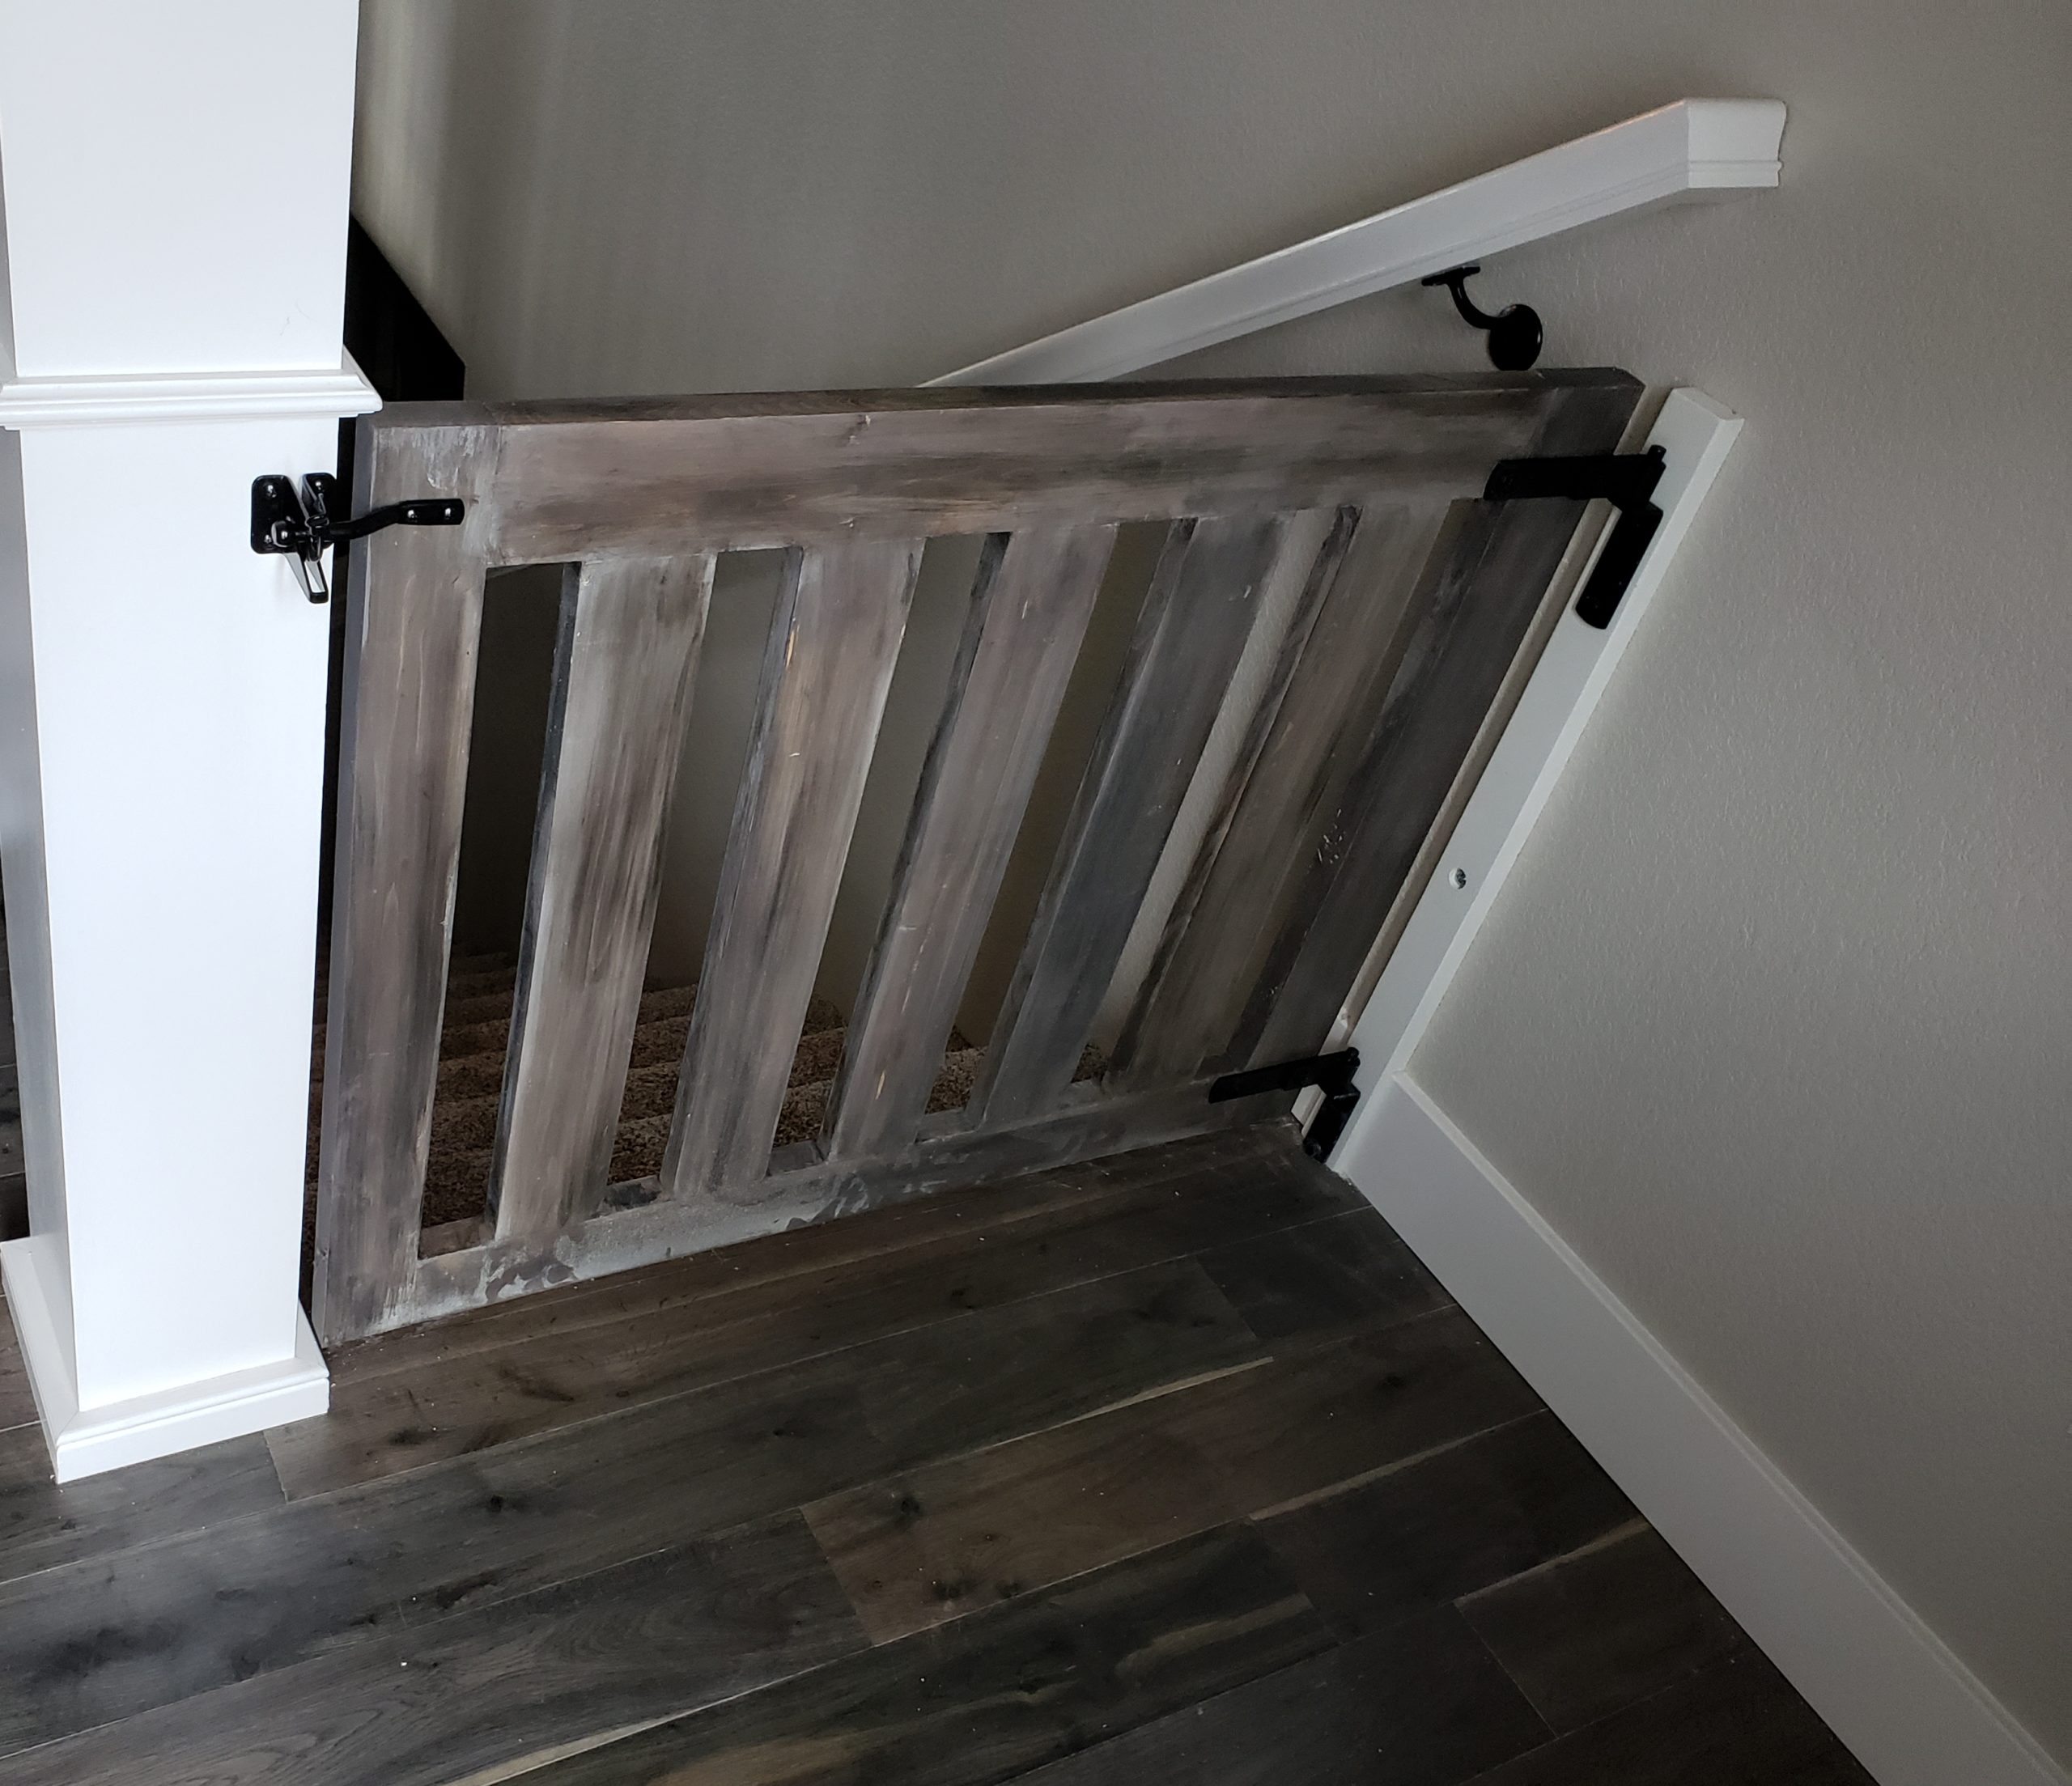
So around these parts (ha ha ha) and probably in your neck of the woods too, new homes are being built so incredibly fast. They are beautiful with gorgeous wood trim, hardwood flooring, TALL basements, wide staircases… I could go on and on – but let’s get back to the WIDE STAIRCASES…. You have dogs? Me too. You have kiddos? I use to have littles, now I have bigs. Regardless, it is challenging to find gates that fit the wider staircases, and down below is usually a pretty hefty set of stairs.
We understand how frustrating it is to order online for a one fits all solution that doesn’t work and costs a ton of money. HandyHubs and I began building custom gates because we had customers who needed these solutions, and desired an affordable solution. Our gates are built from pine or other hardwoods, using Kreg holes, screws and wood glue to ensure the framing and centerpieces are firmly secure. We use heavy-duty hardware gate lift hinges and gate locks for an easy swing, safe open and shut gate system.
So far, we have installed four custom gates in our local area. Gates are built custom to fit your needs and to your color specifications. Due to the customized nature of the gates, we do not take online orders that are outside of our immediate service area.
If you are interested in a DIY gate solution, here is some more information on how to achieve a simple, affordable gate that looks great in your home and won’t break the bank!
Some things you will need:
2×4’s equaling the length you want to use
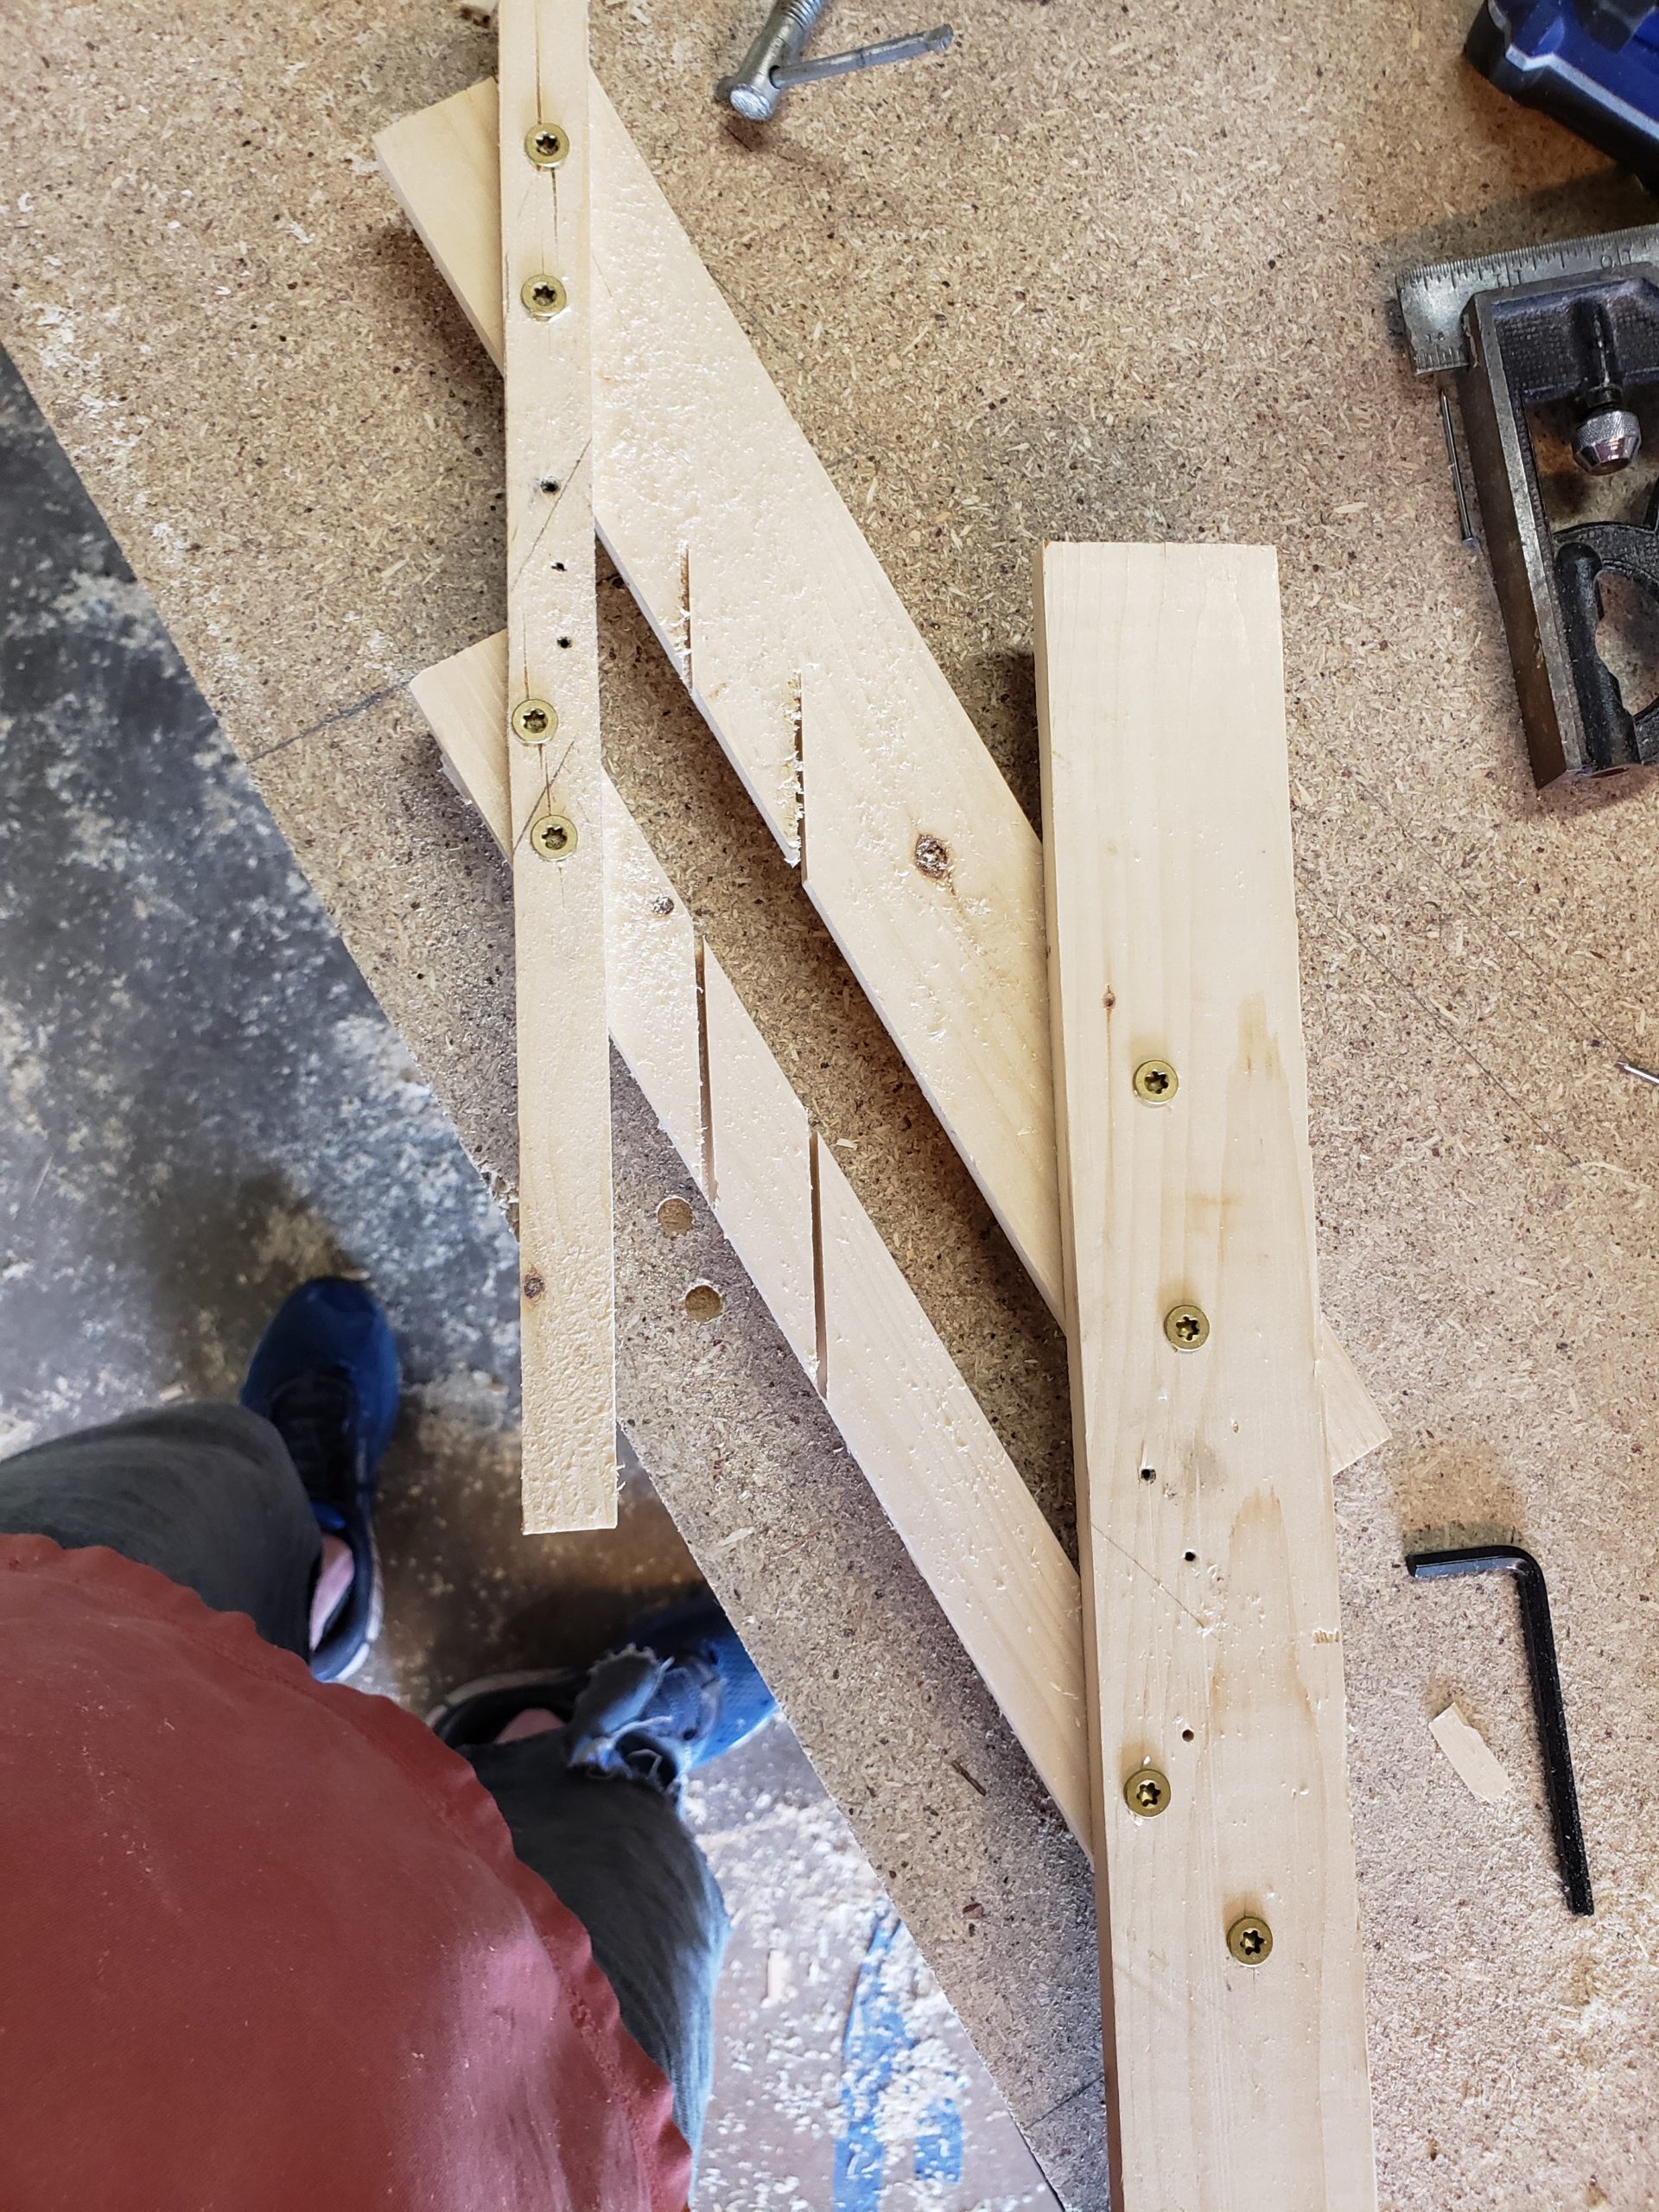
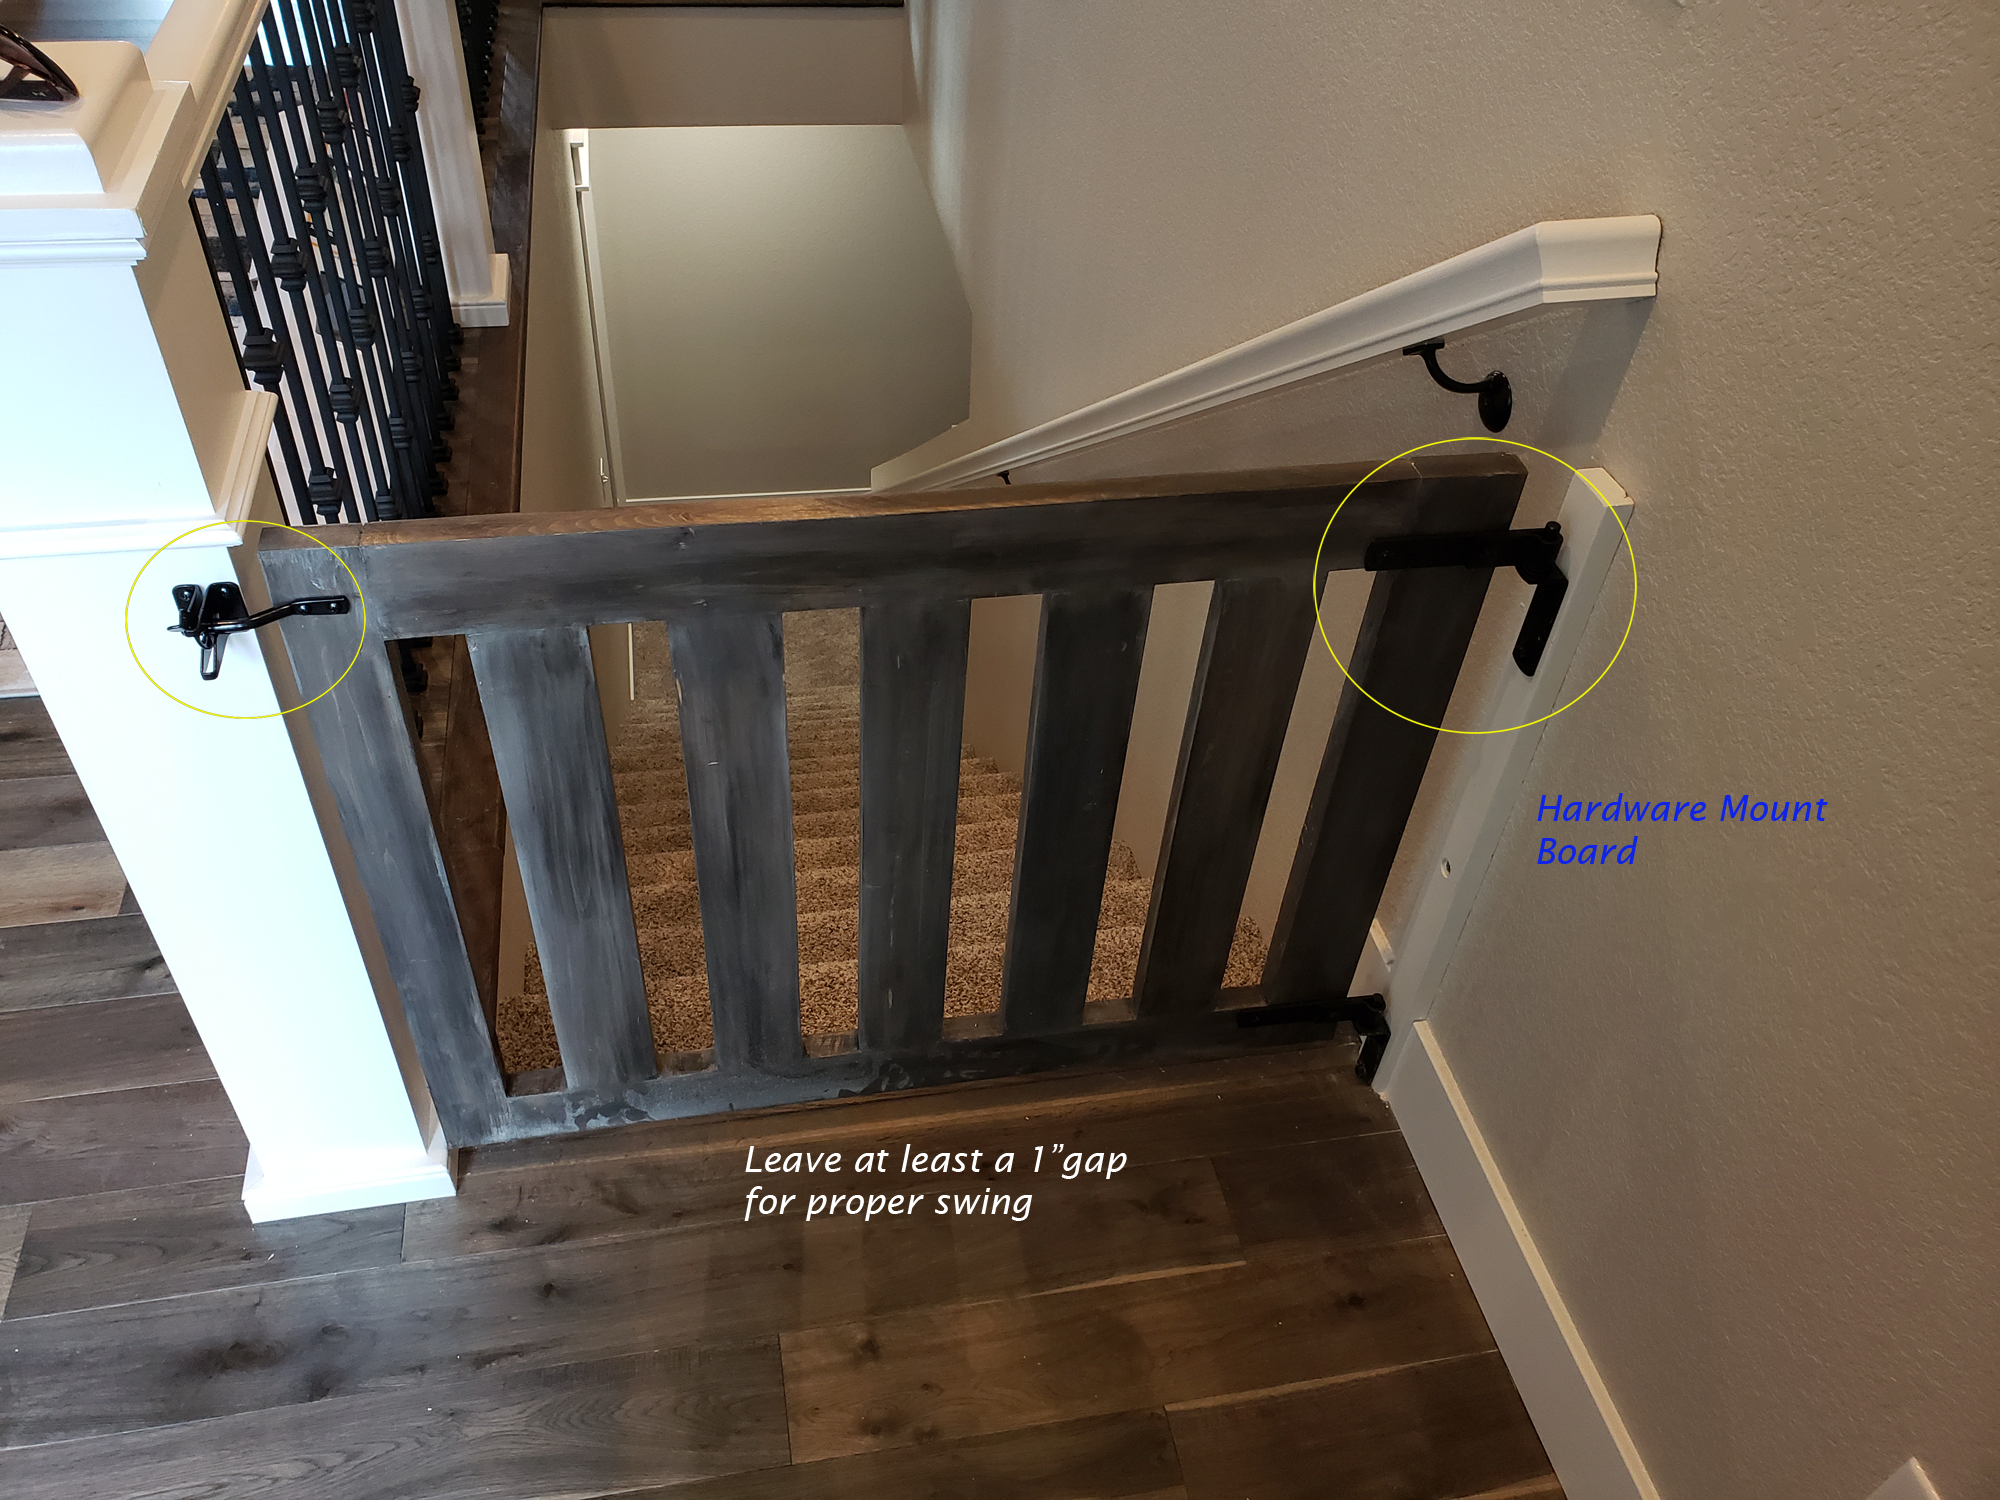
One thing you do have to know is the measurement of your hardware before you build your gate. Handy Hubs recommends actually temporarily installing your hardware mountboard (See on the right side of the picture painted white) and one set of your hardware. Attach a 2×4 to the desired length making sure you leave plenty of room for the clasp arm and decorative trim, as seen on the left banister, so it does not interfere with the swing. Once you have you the overall length you can start building.
If you look at the pictures, you can see that there is baseboard trim that needs to be taken into consideration on the mount side of the gate and on the latch side, the banister also has trim. This impacts the measurements of the gate. Additionally, the customer opted to have their gate swing towards them rather than away. If it had swung away, the latch and the mount side would have been switched and the railing would have needed to be accounted for. For this build and installation, we were fortunate to have a solid wall on the mount side with no obstructions other than the wide base trim piece.
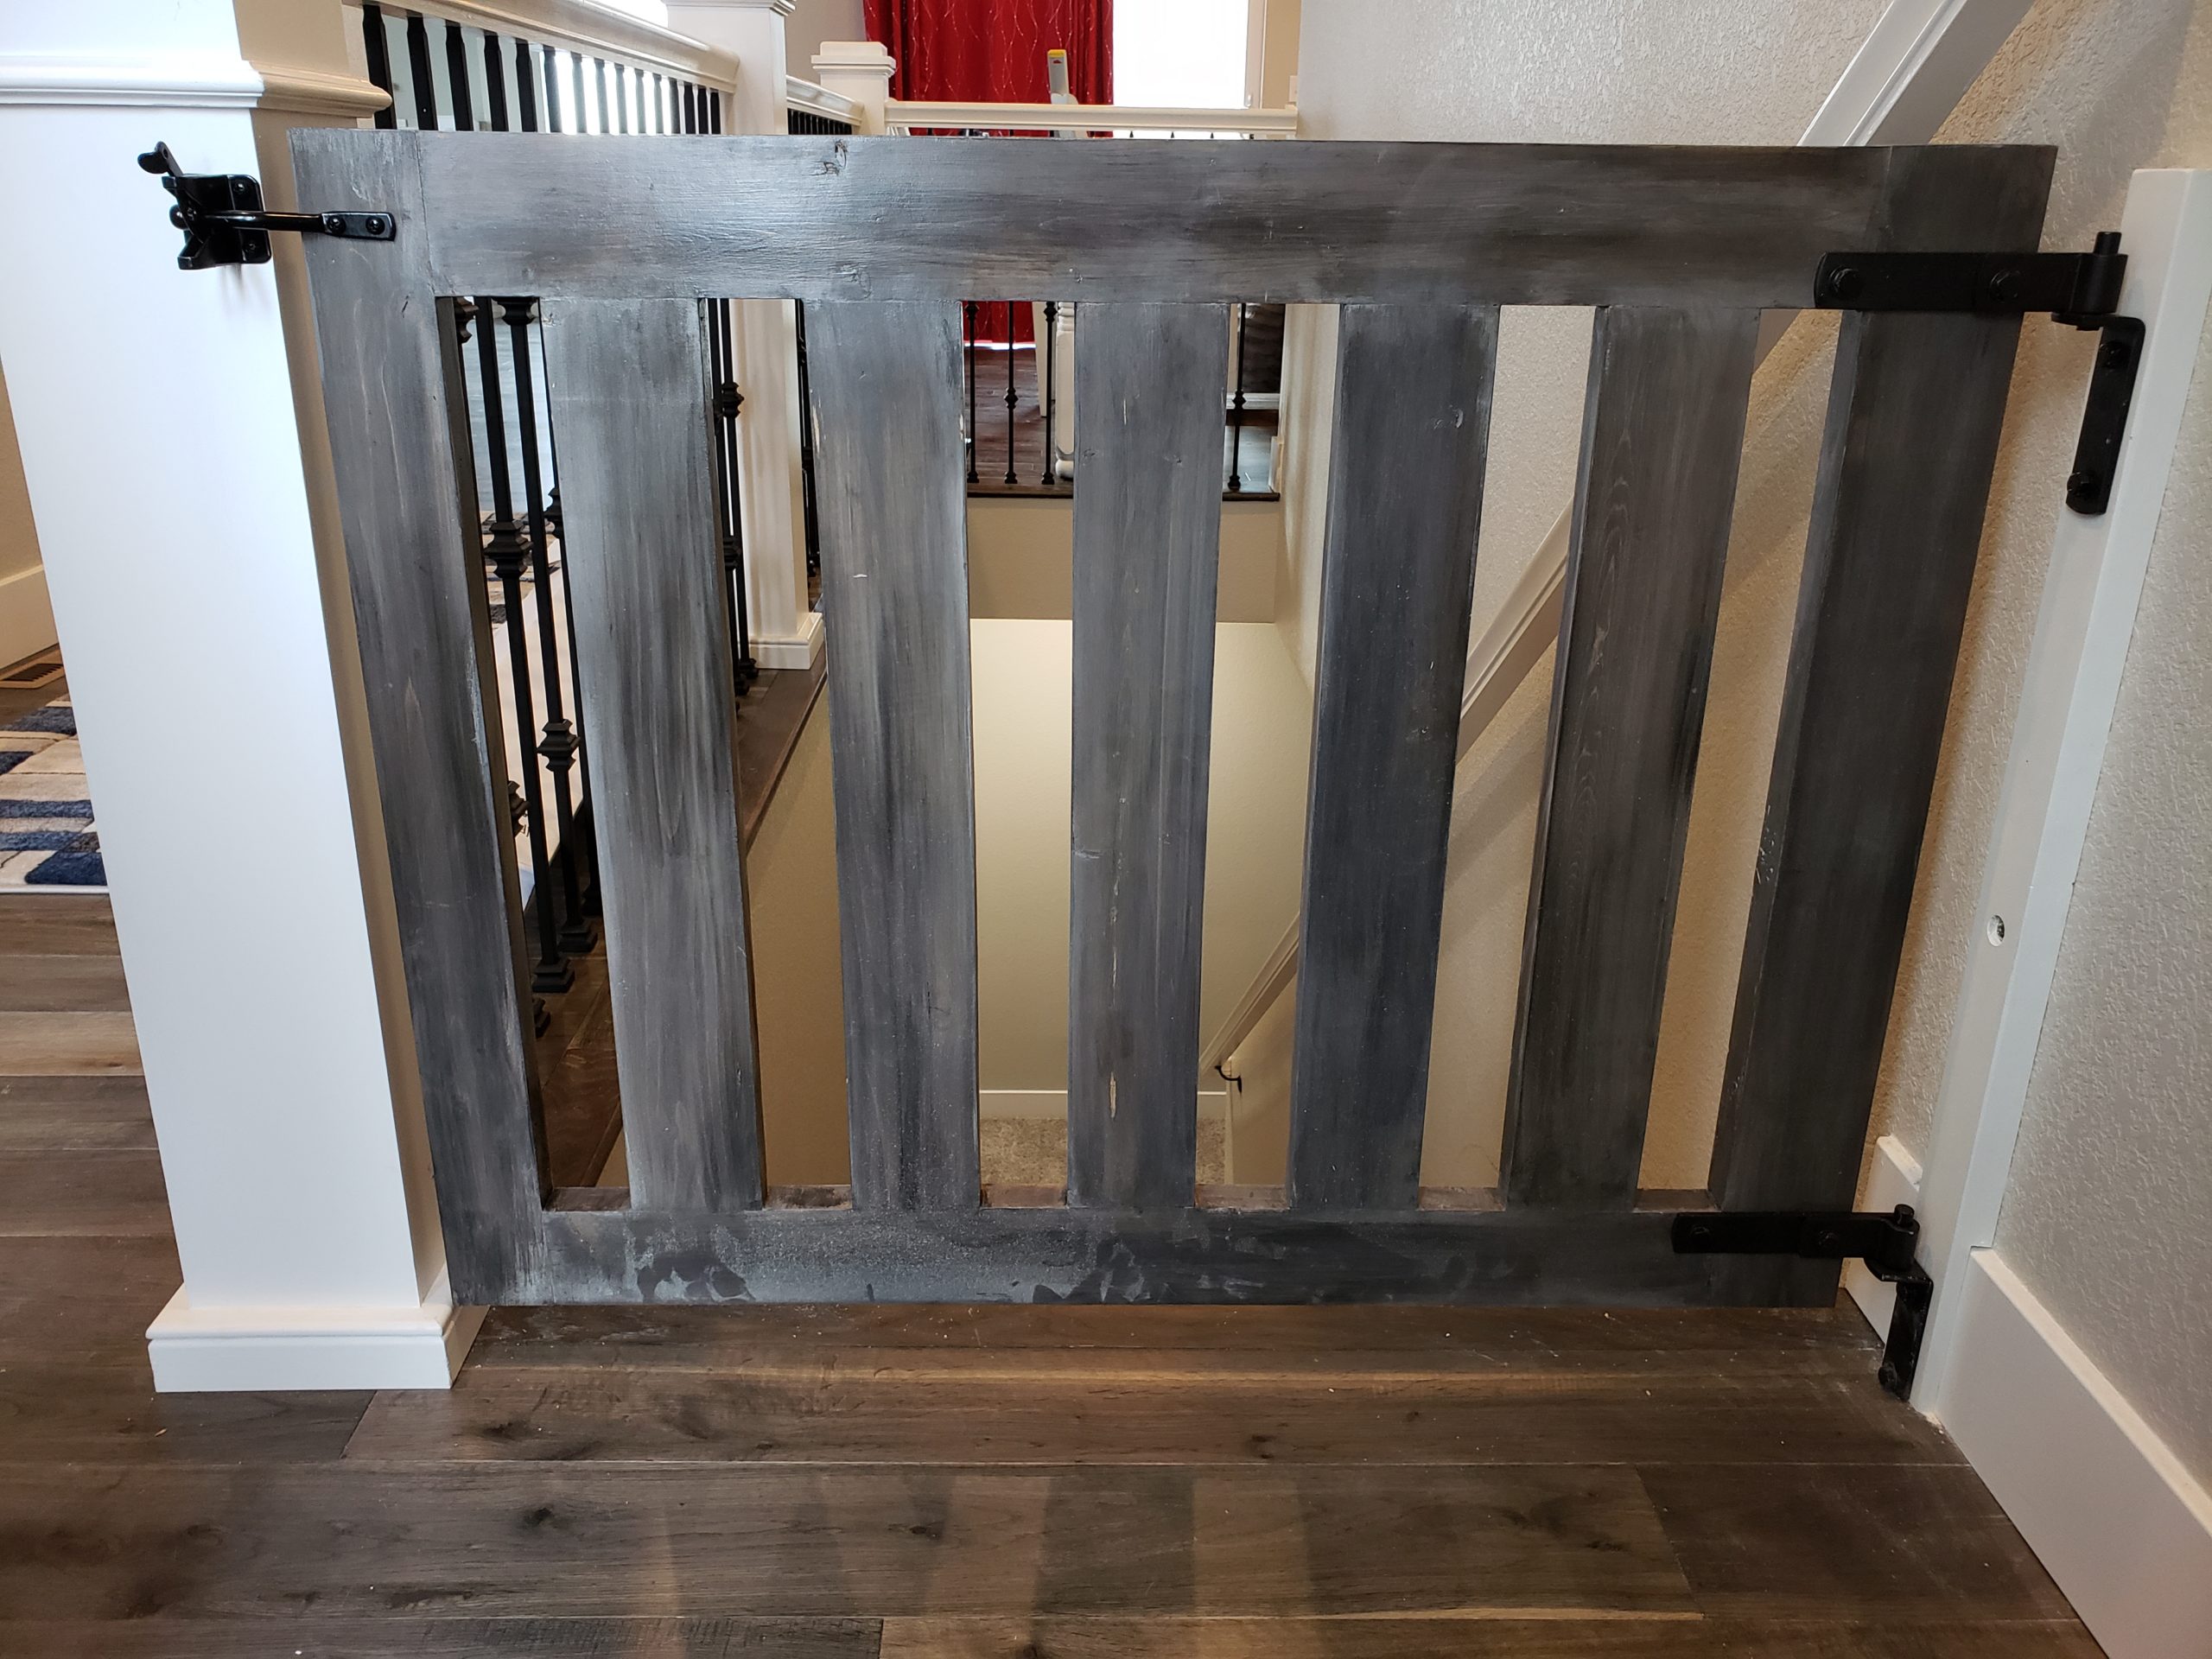
To build this gate, we begin with the frame construction. We started with 2X4s cut to the sizes we needed, with the top and the bottom fitting in-between the two side pieces. We use our planer to plane the boards down to where they were about 1 3/8″ thick. This eliminates the roundness from the edges of the 2X4s. We then Kreg jigged ( Kreg setting to 1 1/2″) the top and the bottom boards so they would attach to the sides using the 2-inch screws.
With another 2X4, we cut the centerpieces to length and then planed them down to 7/8″. Then again Kreg jigged ( Kreg setting to 7/8″) each end of each board, making sure to do so on the same side of the board.
We lined up the boards with the side we would consider the front, measured and spaced them out evenly then attached the centers with the 1 1/2″ screws.
Next, we attached the hardware to the gate where we wanted it then, propped it up against the wall mount board to attach the hinge side of the hardware and the latch. One thing we like about the hardware we picked is that it is pretty heavy duty metal, which requires anchors into the wall if you don’t have a stud to mount into. If the customer ever needs to remove the gate, they simply unlatch it, and lift up to remove it off the hardware we use. Little ones can’t lift it because it’s a tight fit, so no worries there!
Please note, if you don’t have a planer that is fine all the boards can be the same thickness we just like the finished look and weight of the planed boards.
Please Not this post an also be seen on our Twine and Tumbleweeds Page
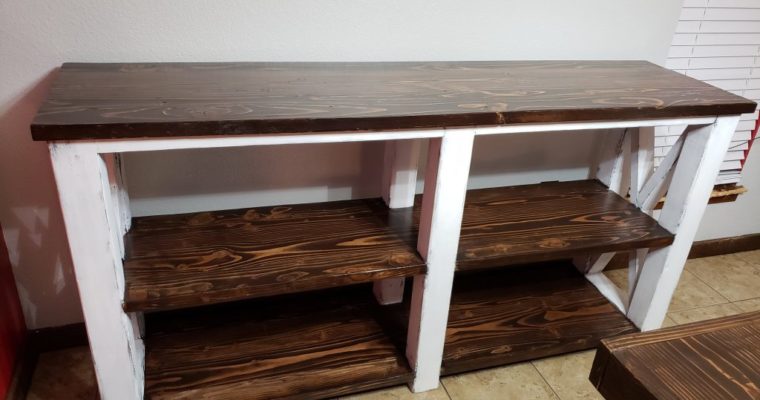
Merideth and I received our first custom furniture order in early August. One of our coworkers and his lovely wife sent me a photo from Pinterest (where else?) and asked if we would be able to create them something similar for their new home. Of …